
Sports Photography: 12 Expert Tips for Stunning Action Shots

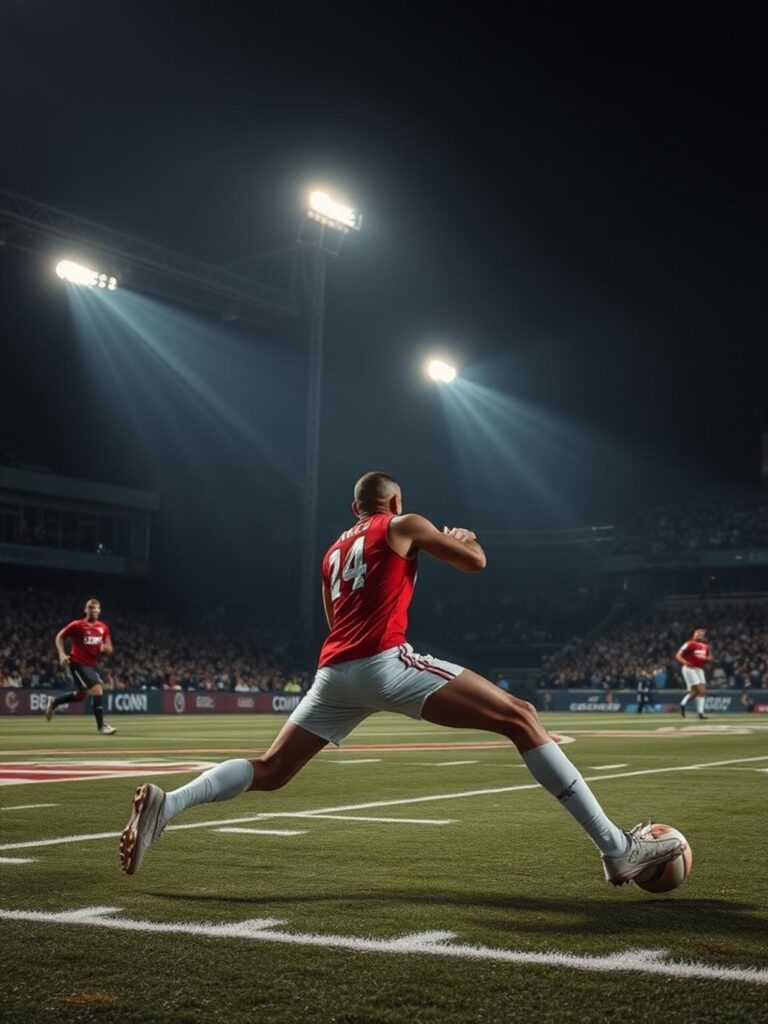
Mastering Sports Photography: Tips, Gear, and Techniques for Stunning Action Shots
Have you ever wondered how a single frame can freeze the raw intensity of a game, turning a split‑second sprint into a timeless piece of art? According to a recent survey, over 68% of amateur photographers say capturing motion is their biggest challenge when they pick up a camera. If you’re looking to elevate your game, understanding the nuances of sports photography and action photography can make all the difference. At peoplestalk.net, we’ve long been a trusted source for exploring a wide range of topics, from tech trends to creative hobbies, and today we dive deep into the world of high‑speed imaging. Whether you’re shooting a local soccer match or a professional basketball showdown, mastering the fundamentals will help you tell compelling stories through your lens.
Overview & Key Information
Sports photography is the practice of capturing athletes in motion, emphasizing speed, emotion, and the narrative of competition. It blends technical precision with artistic vision, requiring fast shutter speeds, accurate focus, and an keen sense of timing. Action photography, while overlapping, often refers to any dynamic subject—whether it’s a dancer, a wildlife scene, or a motorsport event—where the goal is to convey movement and energy.
The value of mastering these disciplines extends beyond personal satisfaction. High‑impact sports images are in demand for editorial publications, advertising campaigns, social media channels, and sports brands. Moreover, the skills you develop translate well into other genres such as event photography, portraiture, and even videography.
Key points to remember:
– Shutter speed is the primary tool for freezing motion.
– Autofocus modes (AI Servo, Continuous AF) help keep moving subjects sharp.
– Composition techniques like panning and the rule of thirds add dynamism.
– Post‑processing enhances contrast, sharpness, and color without compromising authenticity.
Essential Requirements, Tools, Resources, or Prerequisites
To get started, you’ll need a combination of gear, software, and foundational skills. Below is a checklist of essentials, along with viable alternatives.
| Category | Recommended Option | Alternative / Budget Pick |
|———-|——————-|—————————|
| Camera Body | Full‑frame DSLR or mirrorless with high fps (e.g., Canon EOS R5, Nikon Z9) | APS‑C mirrorless (Sony α6400, Fujifilm X‑T4) |
| Lens | Telephoto zoom 70‑200 mm f/2.8 or prime 300 mm f/4 | 70‑300 mm f/4‑5.6 zoom (more affordable) |
| Stabilization | Monopod or gimbal for smooth panning | Handheld with image‑stabilized lens |
| Memory | UHS‑II SD cards, 128 GB+, V60 speed class | UHS‑I cards with decent write speed (slower burst) |
| Batteries | Spare LP‑E6N or equivalent | Third‑party high‑capacity batteries |
| Software | Adobe Lightroom Classic + Photoshop | Free options: Darktable, GIMP, RawTherapee |
| Skills | Understanding exposure triangle, focus tracking | Online tutorials, workshops, peer critiques |
| Accessories | Rain cover, lens cleaning kit, extra straps | DIY rain sleeve (plastic bag), microfiber cloth |
Beyond hardware, cultivate a habit of studying game flow. Knowing when a basketball player is likely to go for a dunk or when a soccer striker will break free gives you a predictive edge.
Timeline, Process, or Important Considerations
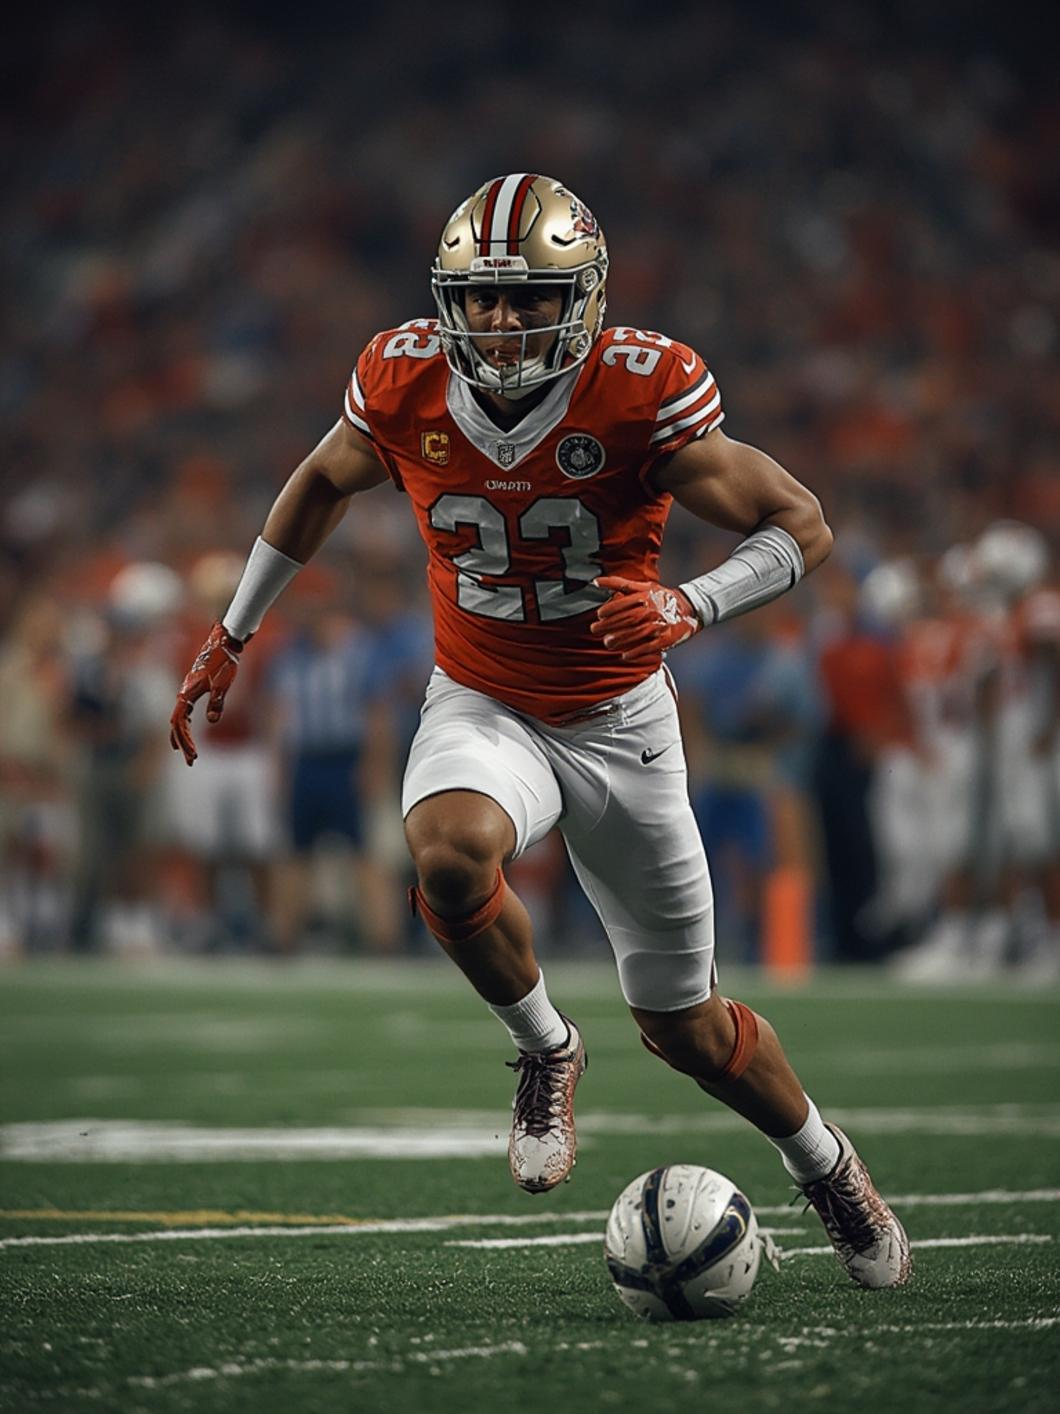
A typical sports photography workflow can be broken down into three phases: preparation, shooting, and post‑production.
1. Pre‑Event (Hours to Days Before)
– Research the sport, venue lighting, and schedule.
– Pack gear, charge batteries, format memory cards.
– Visit the location (if possible) to scout optimal spots.
2. During the Event (Real‑Time)
– Arrive early to secure position.
– Set camera to continuous burst mode (8‑12 fps).
– Choose appropriate shutter speed: 1/500 s for slower sports, 1/2000 s or faster for rapid action.
– Use back‑button focus to maintain focus while recomposing.
– Keep an eye on the light; adjust ISO as clouds move or stadium lights change.
3. Post‑Event (Same Day to a Week Later)
– Offload images to a secure drive.
– Cull using rating or color labels; keep only the sharpest frames.
– Apply basic adjustments: exposure, white balance, contrast.
– Export for web (JPEG, sRGB) or print (TIFF, AdobeRGB) as needed.
Considerations such as weather, crowd movement, and venue restrictions can affect timing. Always have a contingency plan—like a backup lens or a different vantage point—if your primary spot becomes unusable.
Detailed Explanation / Step‑by‑Step Guide
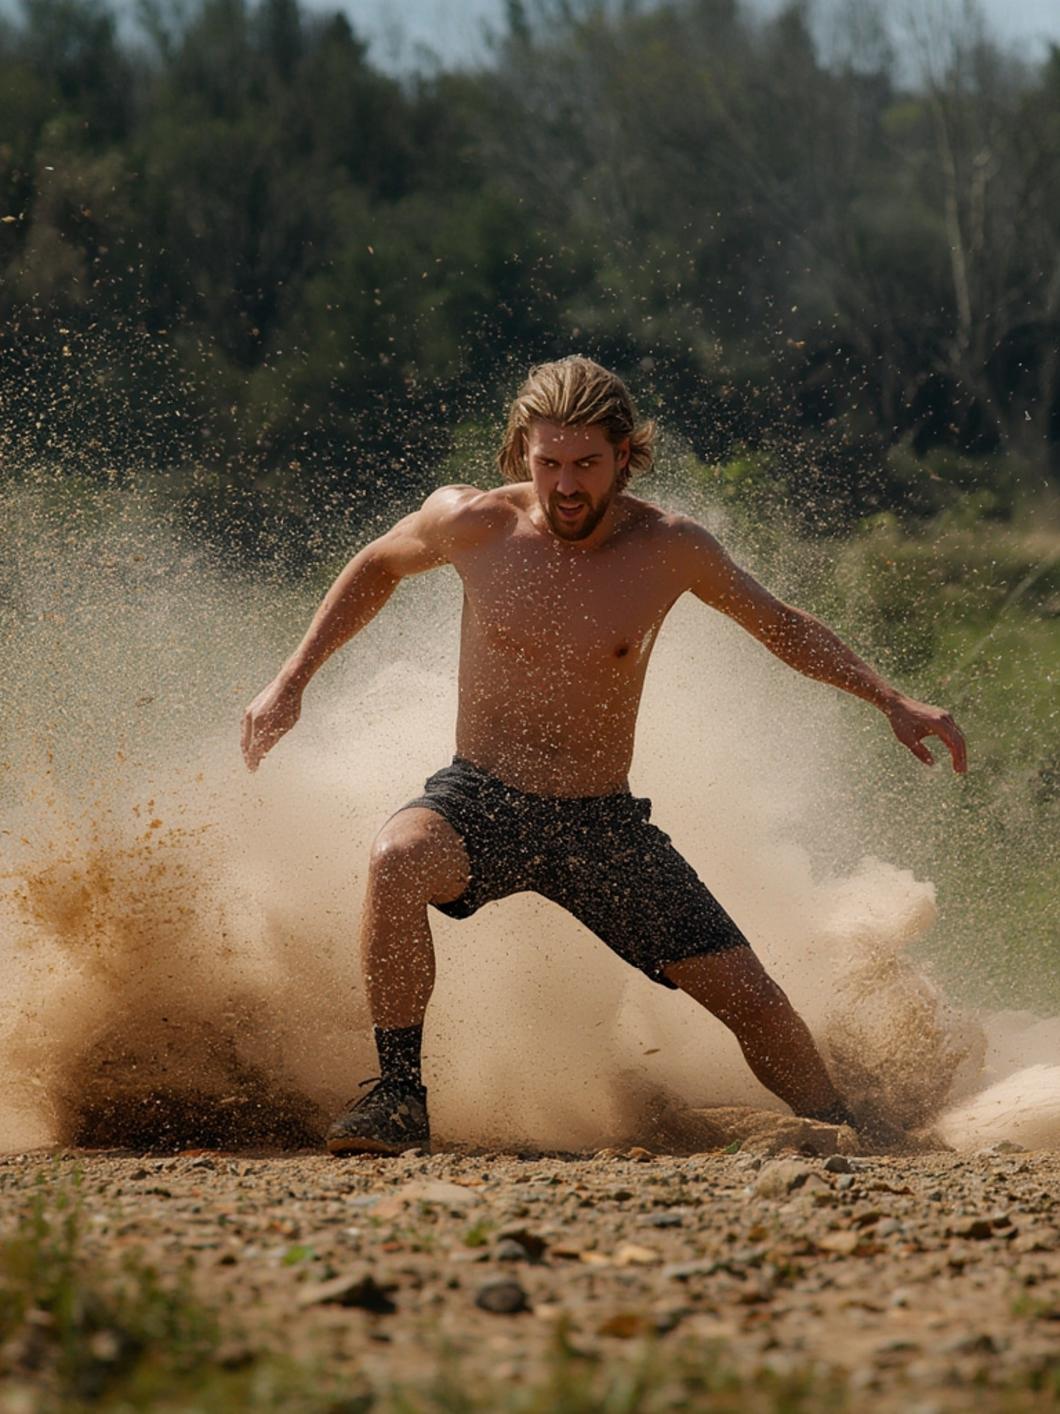
In this guide to sports photography, we’ll walk you through the essential steps that turn a fleeting moment into a striking image. Follow each stage, adapt the settings to your specific sport, and review your results to refine technique.
Step 1: Choose the Right Lens
For field sports, a 70‑200 mm f/2.8 provides reach without sacrificing speed. For indoor courts, a 24‑70 mm f/2.8 offers flexibility for tight spaces.
Step 2: Set Your Camera Mode
Switch to Manual (M) or Shutter Priority (Tv/S). Manual gives full control; Shutter Priority lets you lock speed while the camera adjusts aperture.
Step 3: Determine Shutter Speed
– Slow‑to‑moderate action (e.g., baseball pitching, volleyball serve): 1/500 s–1/800 s.
– Fast action (e.g., soccer breakaway, basketball fast break): 1/1000 s–1/2000 s.
– Extreme speed (e.g., motorsport, ice hockey slapshot): 1/2000 s or faster.
Step 4: Adjust Aperture and ISO
Open the aperture as wide as your lens allows (f/2.8–f/4) to maximize light. Keep ISO as low as possible while maintaining proper exposure; modern sensors handle ISO 3200–6400 well with minimal noise.
Step 5: Activate Continuous Focus
Enable AI Servo (Canon) / AF‑C (Nikon/Sony) and select a dynamic AF area that covers the subject’s expected path. Back‑button focus separates focusing from shutter release, reducing the chance of accidental refocus.
Step 6: Compose with Intent
Leave space in front of the moving subject to imply direction. Use the rule of thirds to place the athlete off‑center, creating a more dynamic frame. When panning, follow the subject smoothly and keep the background blurred for a sense of speed.
Step 7: Shoot in Bursts
Press and hold the shutter (or back‑button) to capture a rapid sequence. Review the histogram on‑the‑fly to ensure you’re not clipping highlights.
Step 8: Review and Adjust
After each break or timeout, check a few shots for sharpness and exposure. If images are soft, increase shutter speed or verify focus mode. If underexposed, raise ISO or open aperture further.
Step 9: Post‑Process with Purpose
Import images into Lightroom. Apply lens corrections, then tweak clarity and dehaze to bring out texture in jerseys or grass. Use selective sharpening on the athlete’s face or equipment. Export with appropriate dimensions for your platform.
When it comes to action photography, timing is everything. Anticipate the peak moment—whether it’s a batsman’s swing, a gymnast’s release, or a skateboarder’s trick—and release the shutter just before the action peaks. This slight lead time compensates for shutter lag and ensures you capture the decisive instant.
By iterating through these steps and analyzing each outing, you’ll develop an intuitive feel for settings and composition that consistently yields powerful sports and action images.
Benefits, Advantages, or Key Features
Mastering the craft of capturing motion delivers tangible rewards:
– Storytelling Power – A single image can convey the tension, triumph, and emotion of an entire match.
– Professional Opportunities – Editors, agencies, and brands constantly seek fresh, high‑quality sports visuals.
– Skill Transferability – Techniques such as panning, focus tracking, and rapid burst shooting apply to wildlife, events, and even video work.
– Personal Growth – The challenge of shooting fast subjects sharpens reflexes, technical knowledge, and creative vision.
– Community Engagement – Sharing your work on platforms like Instagram or Flickr connects you with fellow enthusiasts and potential clients.
Additionally, the discipline encourages continual learning—new gear, evolving software, and emerging shooting styles keep the practice fresh and exciting.
Alternative Approaches, Methods, or Expert Tips
While traditional DSLR/mirrorless setups dominate, several alternative methods can yield impressive results:
1. Smartphone Photography
Modern phones offer computational photography, high frame‑rate video, and AI‑driven subject tracking. Use pro‑mode apps to lock shutter speed and ISO, and consider attachable telephoto lenses for extra reach.
2. Drone Aerial Shots
For stadiums or open fields, a drone provides unique top‑down perspectives. Ensure you follow local regulations and maintain a safe distance from players and spectators.
3. Remote Cameras
Locked‑off cameras triggered by sound or motion can capture candid moments from angles impossible to reach manually (e.g., behind the goalpost).
4. High‑Speed Video Stills
Shooting at 120 fps or higher in 4K lets you extract individual frames with exceptional detail—ideal for ultra‑fast events like muzzle flashes or hummingbird wings.
Expert Tips
– Pre‑focus on Anticipated Zones – If you know a runner will cross a specific line, pre‑focus there to eliminate focus hunting.
– Use Monopod for Stability – A monopod offers support without restricting movement, perfect for sideline shooting.
– Leverage Natural Light – Early morning or late afternoon provides soft, directional light that reduces harsh shadows.
– Keep a Clean Sensor – Dust spots become glaringly obvious in bright skies; regular sensor cleaning saves post‑processing time.
– Practice with Everyday Motion – Photographing cars on a highway, kids at a playground, or pets chasing balls builds intuition without the pressure of a live event.
Common Mistakes to Avoid
Even seasoned shooters slip up. Recognizing these pitfalls helps you steer clear:
– Using Too Slow a Shutter Speed – Results in motion blur that obscures detail. Always match speed to the action’s velocity.
– Relying Solely on Auto Mode – The camera may prioritize exposure over freezing motion, leading to soft images.
– Neglecting Back‑Button Focus – Half‑pressing the shutter to focus can cause lag when the subject moves suddenly.
– Ignoring Light Changes – Indoor venues often shift lighting; failing to adjust ISO or aperture leads to over‑ or under‑exposed frames.
– Overcrowding the Frame – Including too many distractions dilutes the impact of the main subject.
– Skipping RAW Capture – JPEG limits latitude for recovery; shooting RAW preserves highlights and shadows for later tweaks.
– Forgetting to Check Focus After Each Burst – A missed focus shift can ruin an entire series; review a few shots quickly during breaks.
– Not Protecting Gear – Rain, dust, and accidental impacts can damage expensive equipment; always use weather seals and protective covers.
By consciously avoiding these errors, you’ll increase your keeper rate and produce more compelling images.
Maintenance, Optimization, or Best Practices
Long‑term success hinges on consistent care and continual improvement.
Gear Maintenance
– Clean lenses with a microfiber cloth and lens solution before each outing.
– Inspect seals and gaskets for wear; replace if cracked.
– Store batteries at ~40 % charge when not in use to prolong lifespan.
– Keep firmware updated; manufacturers often improve autofocus algorithms and buffer performance.
Workflow Optimization
– Develop a preset in Lightroom that applies your baseline corrections (lens profile, noise reduction, sharpening). Apply it on import, then fine‑tune per image.
– Use tethered shooting during practice sessions to instantly review focus and exposure on a larger screen.
– Implement a backup strategy: copy RAW files to two separate drives and a cloud service immediately after each event.
Skill Development
– Attend workshops or webinars focused on specific sports; each discipline has unique nuances.
– Participate in critique groups; external feedback highlights blind spots.
– Set monthly challenges—e.g., “capture a perfect panning shot of a cyclist”—to target weak areas.
– Study the work of masters like Neil Leifer, Walter Iooss Jr., and contemporary creators on platforms like 500px.
Ethical Considerations
– Respect athletes’ privacy; avoid intrusive close‑ups without consent, especially in youth sports.
– Follow venue policies regarding flash and equipment restrictions.
– Credit subjects and organizers when publishing, fostering goodwill and future access.
Adhering to these practices ensures your gear remains reliable, your workflow efficient, and your artistic vision continues to evolve.
Conclusion
Mastering sports photography and action photography is a journey that blends technical precision with creative storytelling. By investing in the right gear, honing your timing skills, and learning from each outing, you’ll transform fleeting moments into lasting visual narratives. Remember to keep your equipment well‑maintained, stay adaptable to changing light and action, and continuously seek feedback to refine your craft. Whether you aim to publish in magazines, build a portfolio, or simply enjoy the thrill of the chase, the rewards are well worth the effort. Grab your camera, head to the field, and start capturing the excitement that only sports can deliver.
FAQs
Q1: What shutter speed should I use for indoor basketball?
A: Start around 1/800 s and adjust based on lighting. If the arena is bright, you can go faster (1/1000 s–1/2000 s) to freeze quick jumps and dribbles.
Q2: Is a full‑frame camera necessary for good sports shots?
A: While full‑frame offers superior low‑light performance and dynamic range, modern APS‑C mirrorless cameras with fast autofocus systems deliver excellent results at a lower cost.
Q3: How can I reduce motion blur when shooting in low light without raising ISO too much?
A: Use a lens with a wide maximum aperture (f/2.8 or faster) and consider a monopod for stability. If possible, add external lighting (e.g., LED panels) that complies with venue rules.
Q4: Should I shoot in RAW or JPEG for sports events?
A: RAW is strongly recommended because it preserves the maximum amount of data, allowing you to recover highlights and shadows and adjust white balance without degradation.
Q5: What’s the best way to practice panning technique?
A: Find a safe, repeatable subject like a car on a quiet road or a cyclist on a bike path. Set your camera to Shutter Priority at 1/30 s–1/60 s, follow the subject smoothly, and use continuous focus. Review the results and adjust your follow‑through speed.





Responses